There are tons of projects that you can do from home all year round that teach kids STEM, but with any holiday come new, exciting projects that are sure to keep your child entertained while learning a thing or two! Check out these Halloween themed STEM projects that are sure to have your child’s wheels spinning and creative juices flowing.
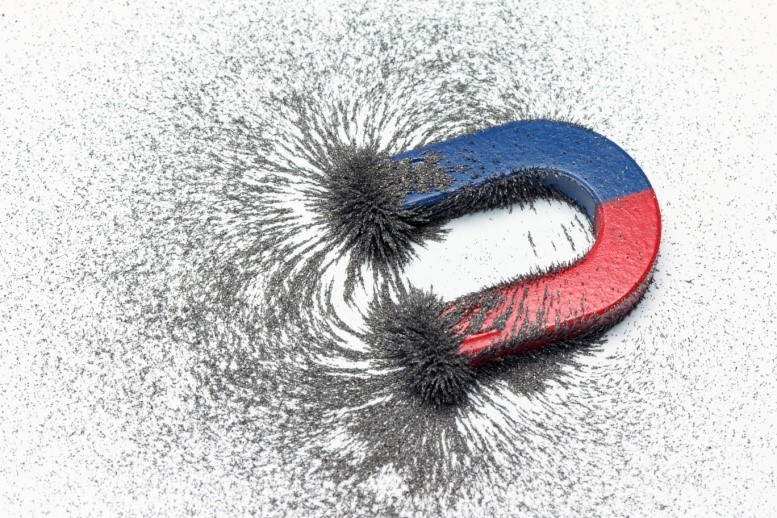
Magnetic Slime
Slime is all the rage these days and kids always seem eager to learn new ways to make this gooey, slimy, gross concoction. That’s where magnetic slime comes in! It’s super stretchy and squishy and does some pretty cool tricks, thanks to the addition of the magnetic element.
Here’s what you’ll need:
- ¼ cup Elmer’s glue
- ¼ cup Liquid starch
- Disposable bowls
- Craft sticks
- Disposable gloves
- 2 tablespoons Iron Oxide powder
- A really strong magnet
Here’s what you do:
- Put the liquid starch into a disposable bowl. Add the Iron Oxide powder and stir until well blended.
- To the bowl, add the Elmer’s glue and mix really well. It takes a while to incorporate, but just keep stirring.
- Put on your disposable gloves and now mix the slime with your hands. Knead well until it’s thoroughly mixed. If you get any black solution on your hands or arms, wash it off right away as it can stain.
- To rid any excess liquid from the slime, dry it gently with paper towel. Once the excess liquid is removed, you no longer have to worry about your hands turning black. It only happens in the liquid state. Once you’ve completed this step, it’s ready!
Try moving the magnet slowly over the slime and watch it dance and rise to the magnet. It’s really cool and your kids from elementary through middle school will enjoy this activity! (Just watch out for little tikes because magnets pose a choking hazard)
Pumpkin Catapults
Who doesn’t love trying to fling something across the room? Just about every kid I know would love to challenge their family or friends and see who can build the better catapult and toss their pumpkin the farthest. Get the challenge started!
Here’s what you need:
- Various size rubber bands
- Plastic teaspoons
- Masking tape
- Fat popsicle sticks
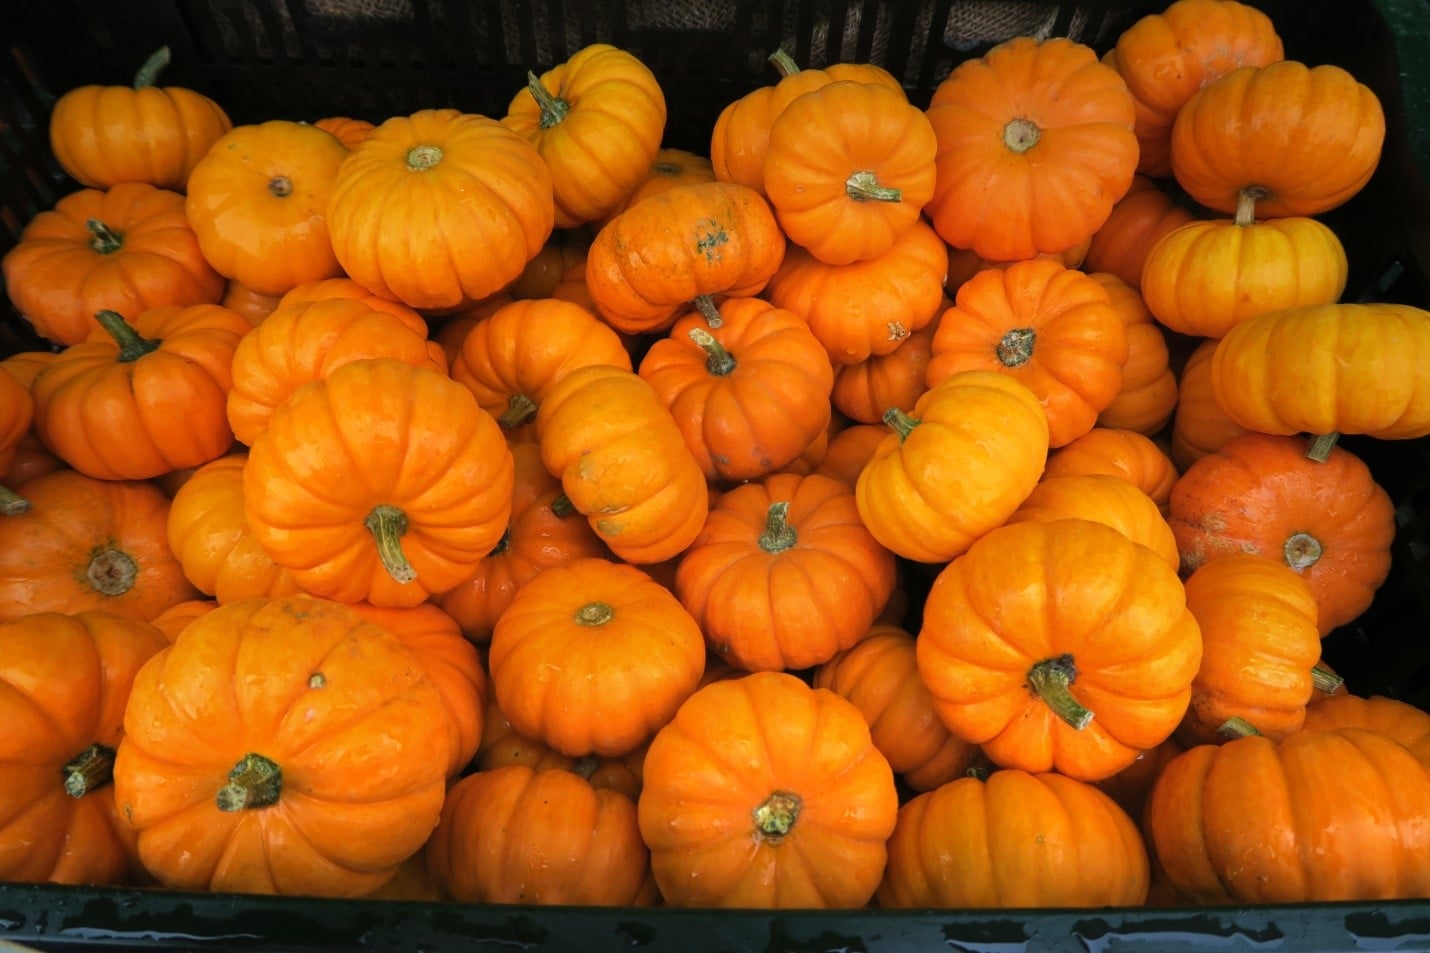
- Mini candy corn pumpkins
- Mini real pumpkins
Here’s what you do:
You child(ren) can use the various objects listed above to build their own catapult. As a suggestion, look up images of actual catapults on the internet so they can pay close attention to how they are crafted. They will probably notice that catapults have a strong, triangular base, require a wedge, and will need an arm to hold the pumpkin.
Once their catapults are built, have them do trial runs starting with the candy corn pumpkins and then take turns launching the real mini pumpkins. Have them measure the distance that each person achieved and then crown a winner!
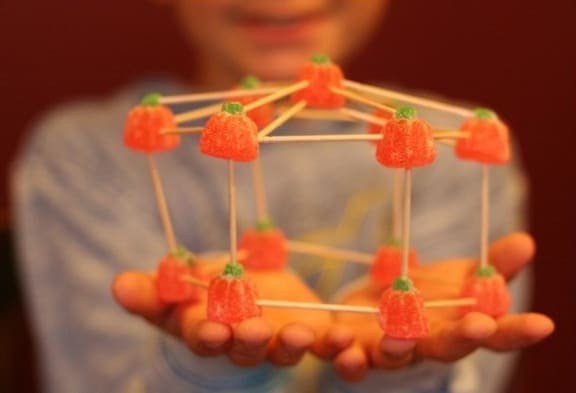
Pumpkin Castles
This is a great, fun little activity that even the littlest school-aged kids can do. It only requires to things (three, if you include a little bit of patience!) and is perfect for kindergarten and first graders!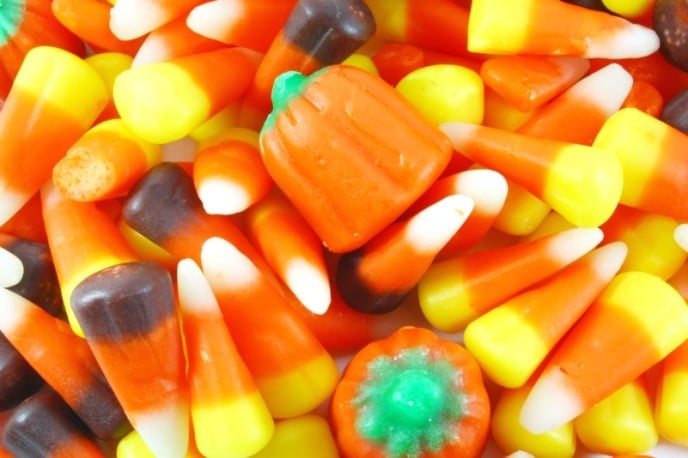
Here’s what you need:
- Toothpicks
- Candy corn and pumpkins
Here’s what you do:
Put the toothpicks in one bowl and the candy in another. Working alongside your child, show them how to construct a castle by using the candy to hold the toothpicks in place. You can show them how to make squares for the base, triangles, pyramids, and cubes. Then, let them have at it and let their imaginations run wild! You’ll be surprised at what they come up with. The best part is at the end, they get to eat part of their creation!
Mutant Eggs
This experiment is so neat and with the added last step, makes it a fabulous, intriguing Halloween project!

Here’s what you need:
- Eggs
- Mason jars or any tall glass
- White or cider vinegar
- Corn syrup
- Green food coloring
Here’s what you do:
- Place the raw eggs into the jars and fill it with vinegar. You can loosely cover the jar if you wish and then leave it on the counter for 24-48 hours.
- Did your child notice any observations when the egg was submerged in the vinegar? Little bubbles formed because the carbon on the egg and the vinegar reacted, causing carbon dioxide bubbles.
- After the time is up, remove the eggs from the vinegar jar and make your observations! The egg no longer looks like a traditional egg. It’s more of a rubbery, balloon-like membrane. Gently rinse off the egg.
- Ask your child what happened to the shell. The shells of an egg are made up of two chemical elements: calcium and carbon. They stick to each other and form calcium carbonate crystals. Vinegar is very acidic and works to break apart the crystals so the shell dissolved and left us with that cool, rubbery membrane.
- In a clean jar, place the rinsed eggs and pour in enough corn syrup to submerge them. Add a few dots of green food coloring. Place the jar carefully in the refrigerator and let it sit for 24 hours. What you are left with are slightly shrunken, green mutant eggs!
- What did your child observe in this step? The egg has shriveled! The membrane let water molecules pass via a process called osmosis. Since corn syrup has almost no water, the water moves out of the egg and into the corn syrup, causing the egg to shrivel up.
We think your kids will have a spooktacular time making these fun and easy Halloween themed STEM projects!